Invitations and SSO
User Invitations
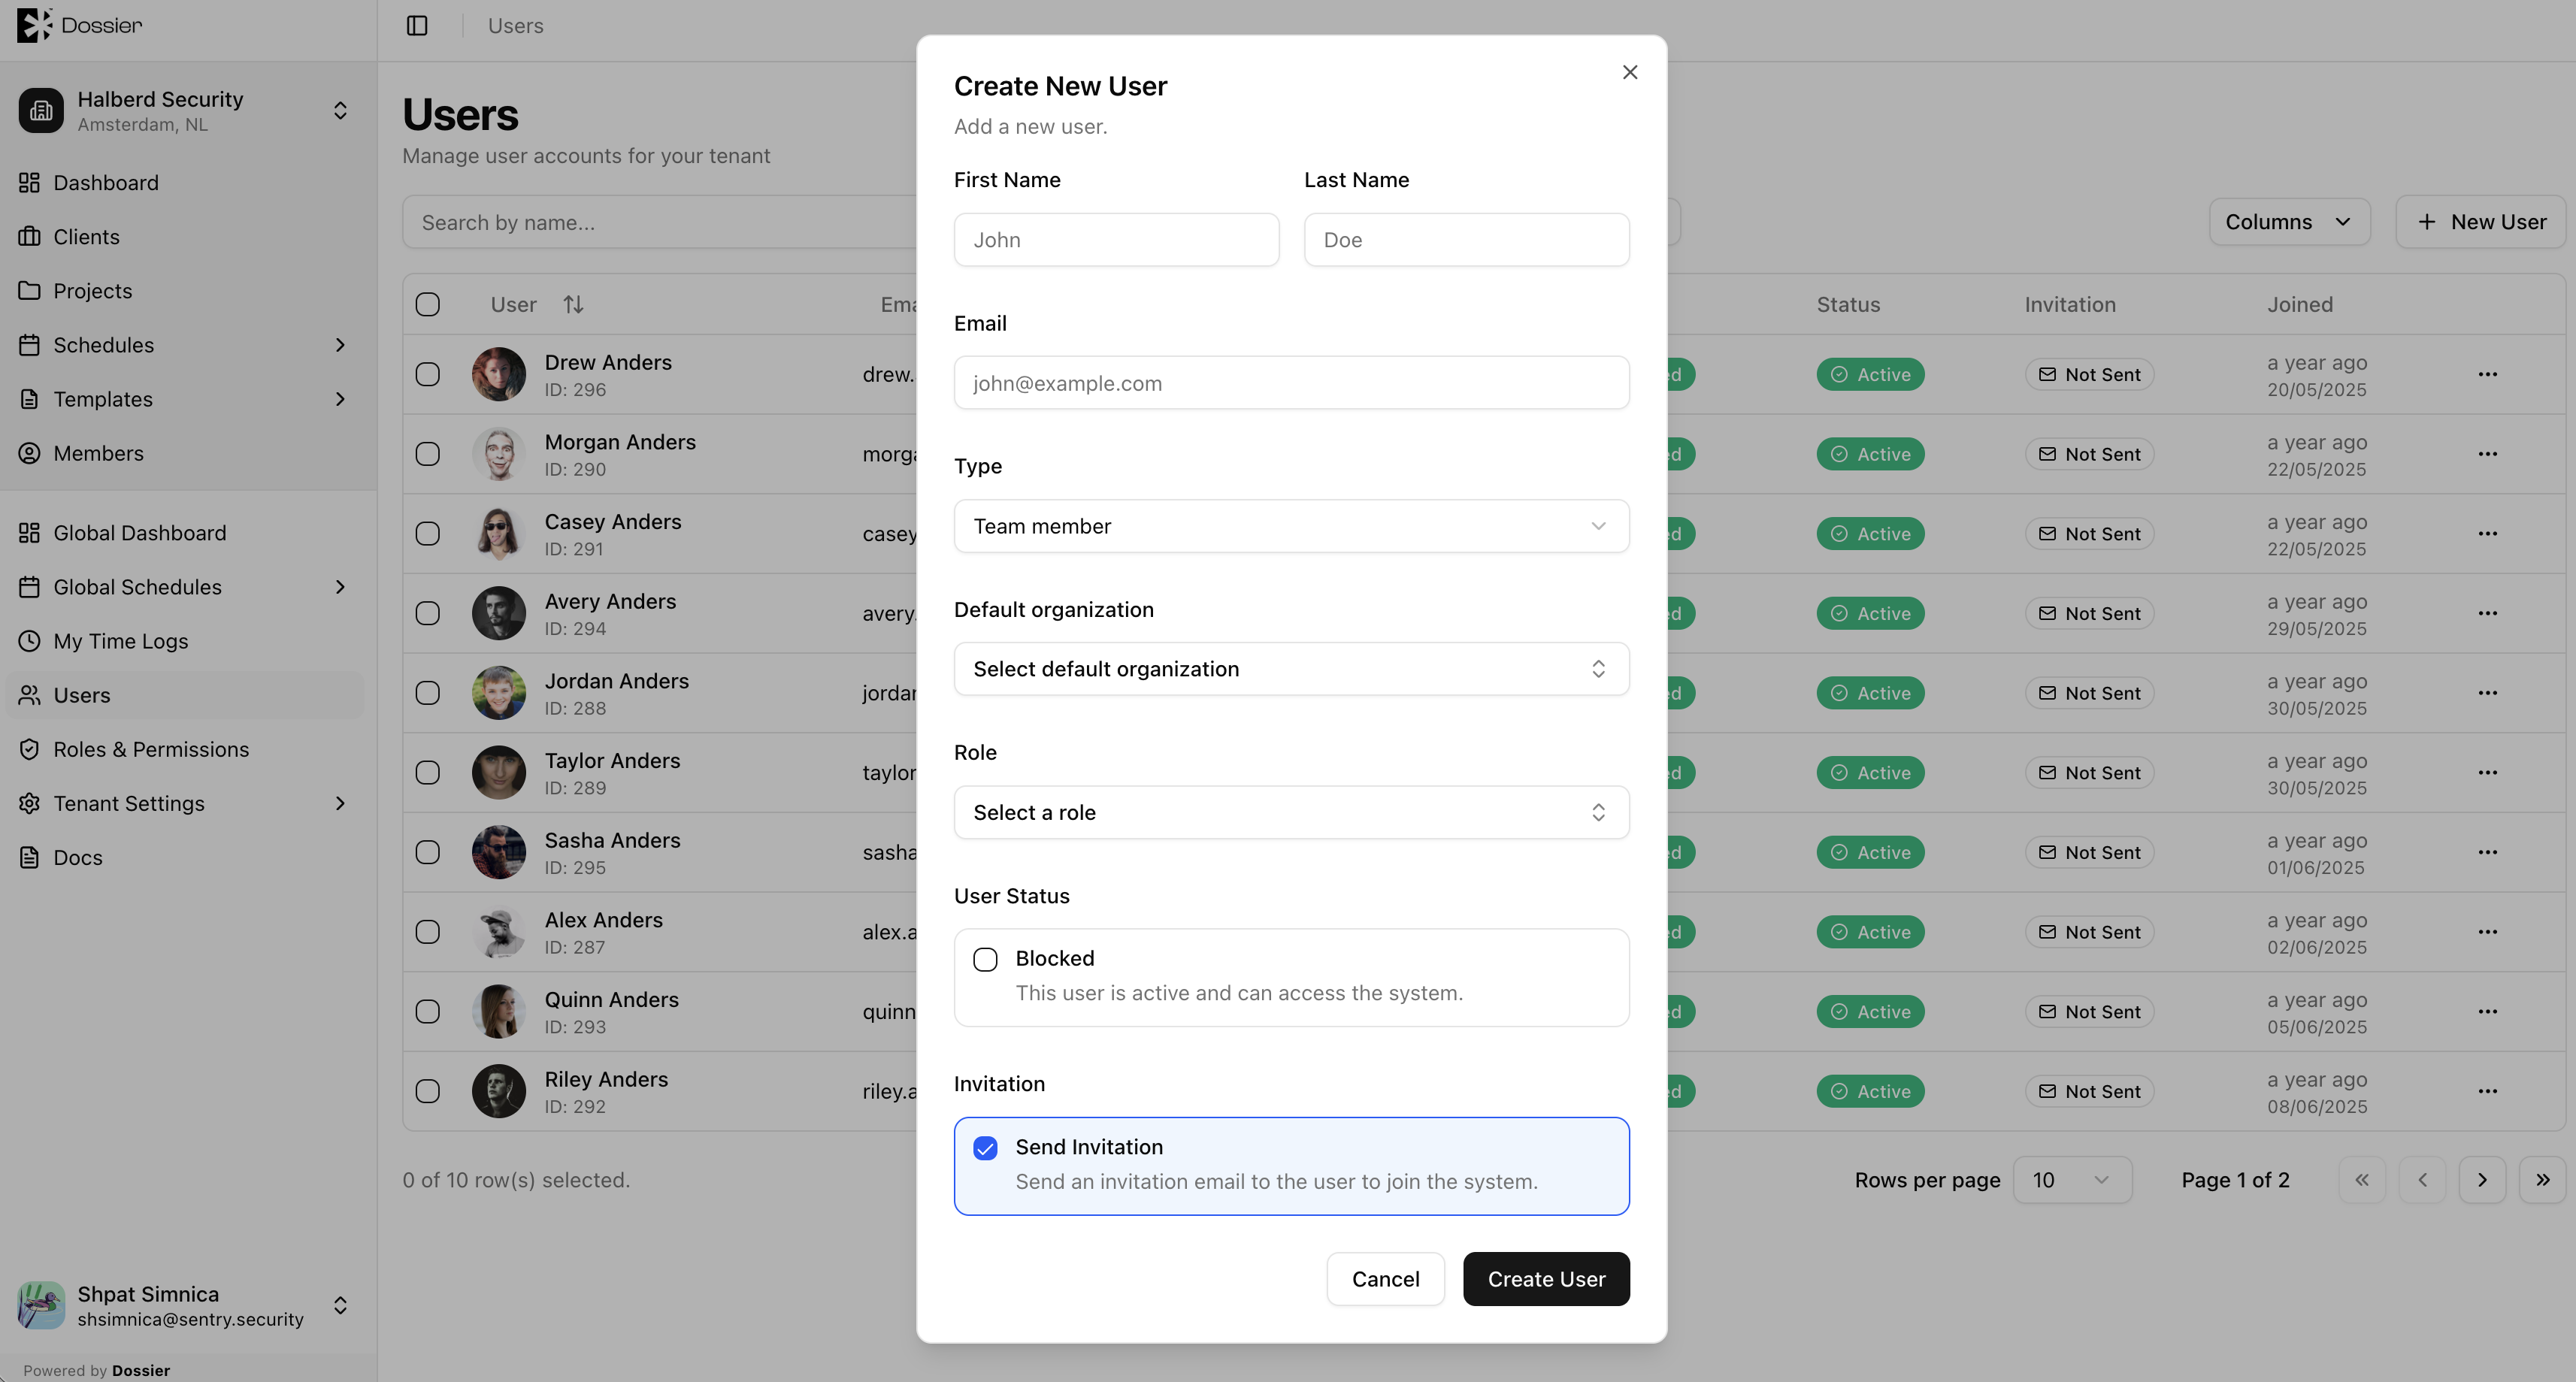
New users are invited by an administrator rather than self-registering.
How invitations work
- An administrator creates a user from Users → New User and enables Send Invitation Email.
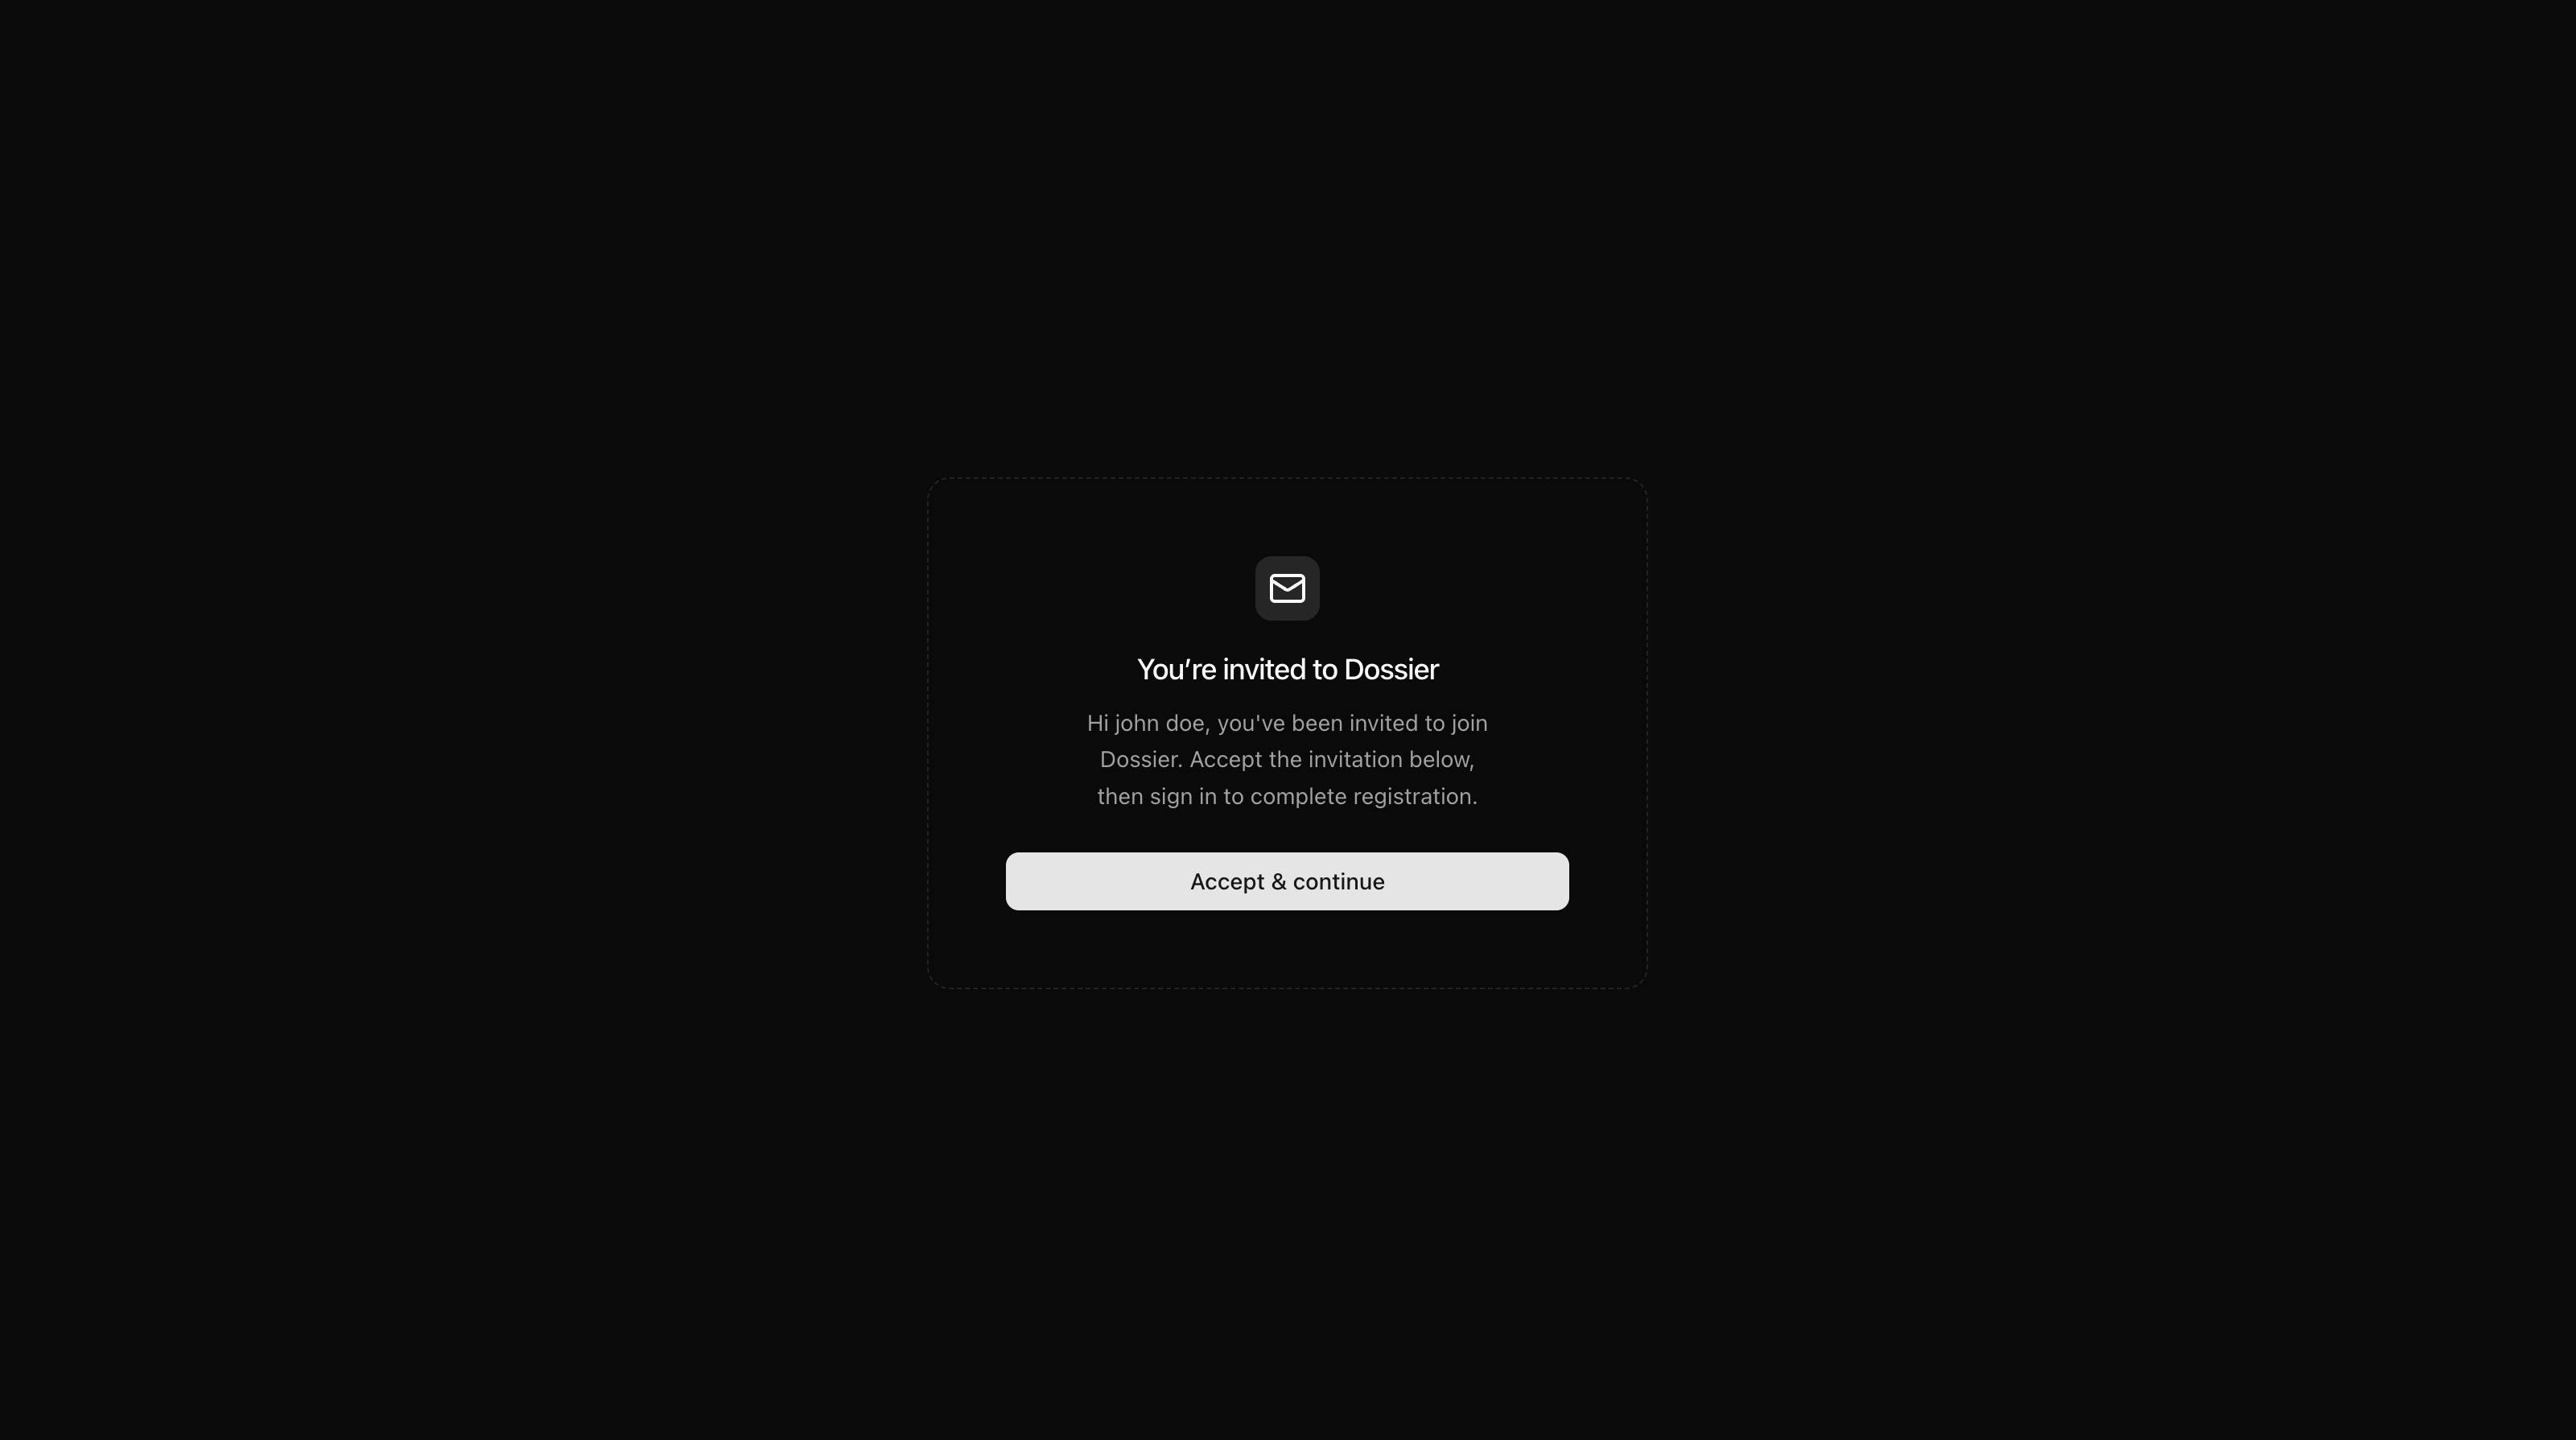
- Dossier sends an invitation email with a link to
/auth/accept-invitation?token=.... - The user clicks the link, which validates the token and redirects them to Auth0 to complete signup.
- After signup, the user can sign in normally.
Invitation status indicators
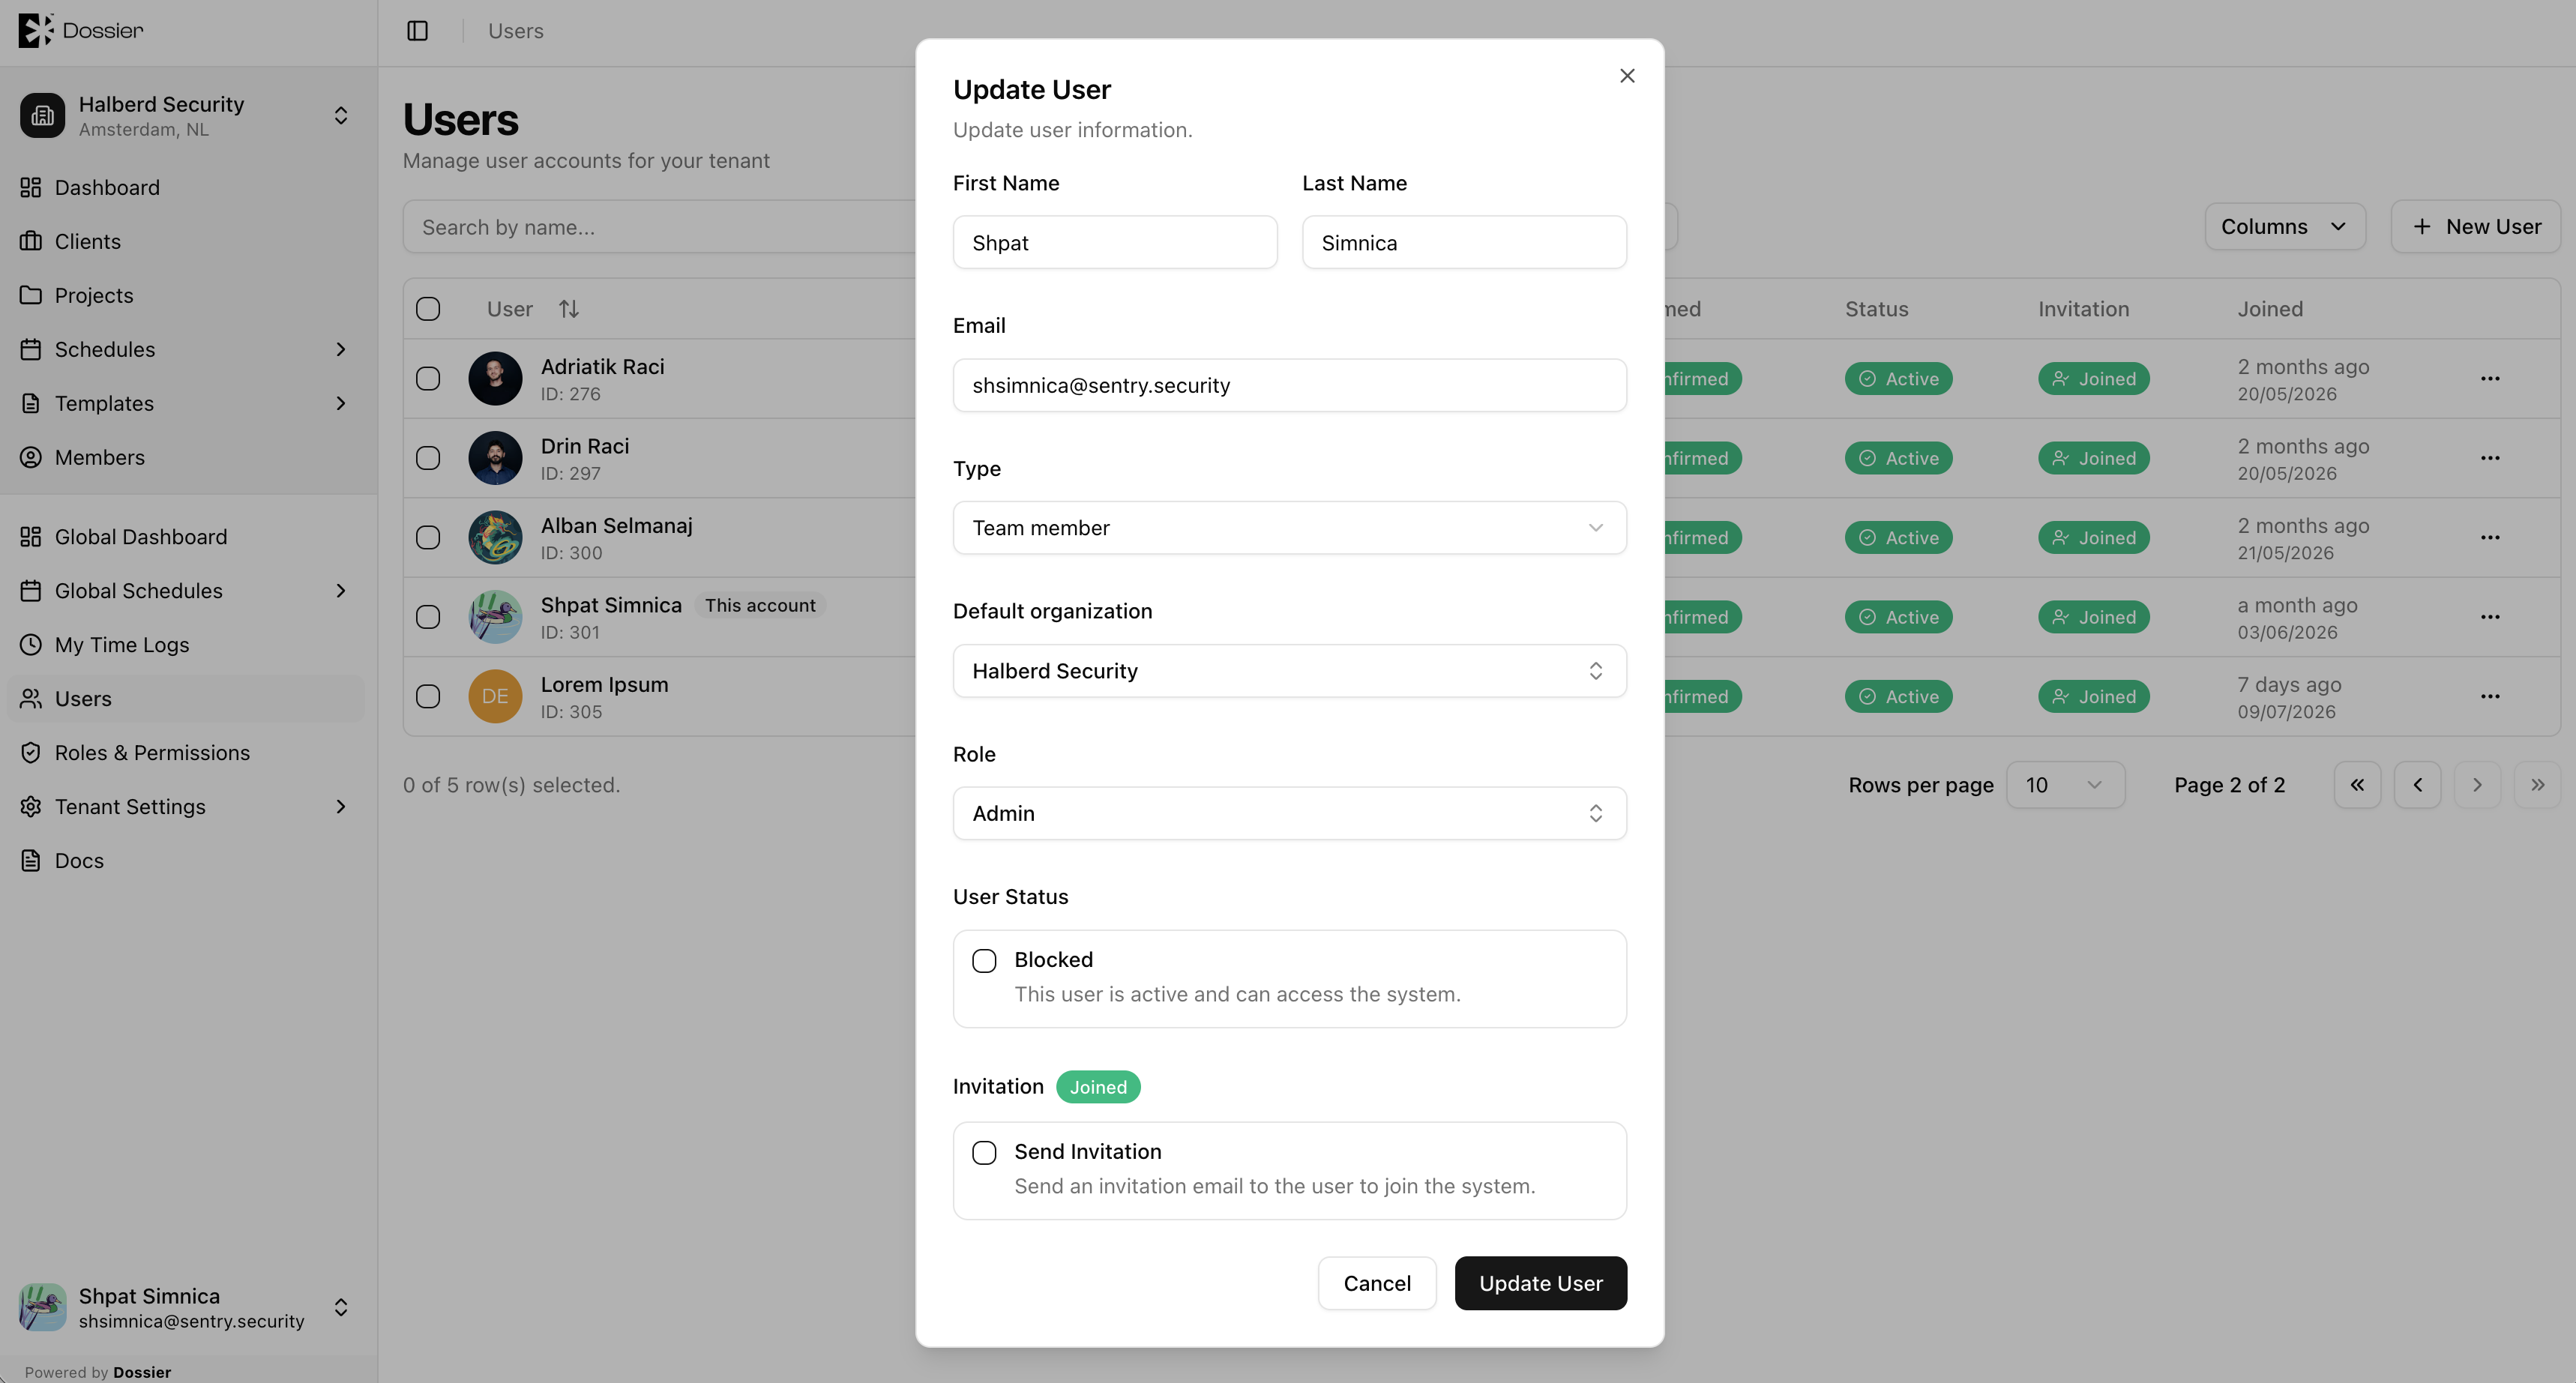
When editing a user, you may see status badges:
| Status | Meaning |
|---|---|
| Invitation Sent | The invitation email was sent but the user has not completed signup. |
| Email not Confirmed | The user signed up but has not verified their email. |
| Not Signed Up | The user record exists but signup is incomplete. |
SSO Configuration
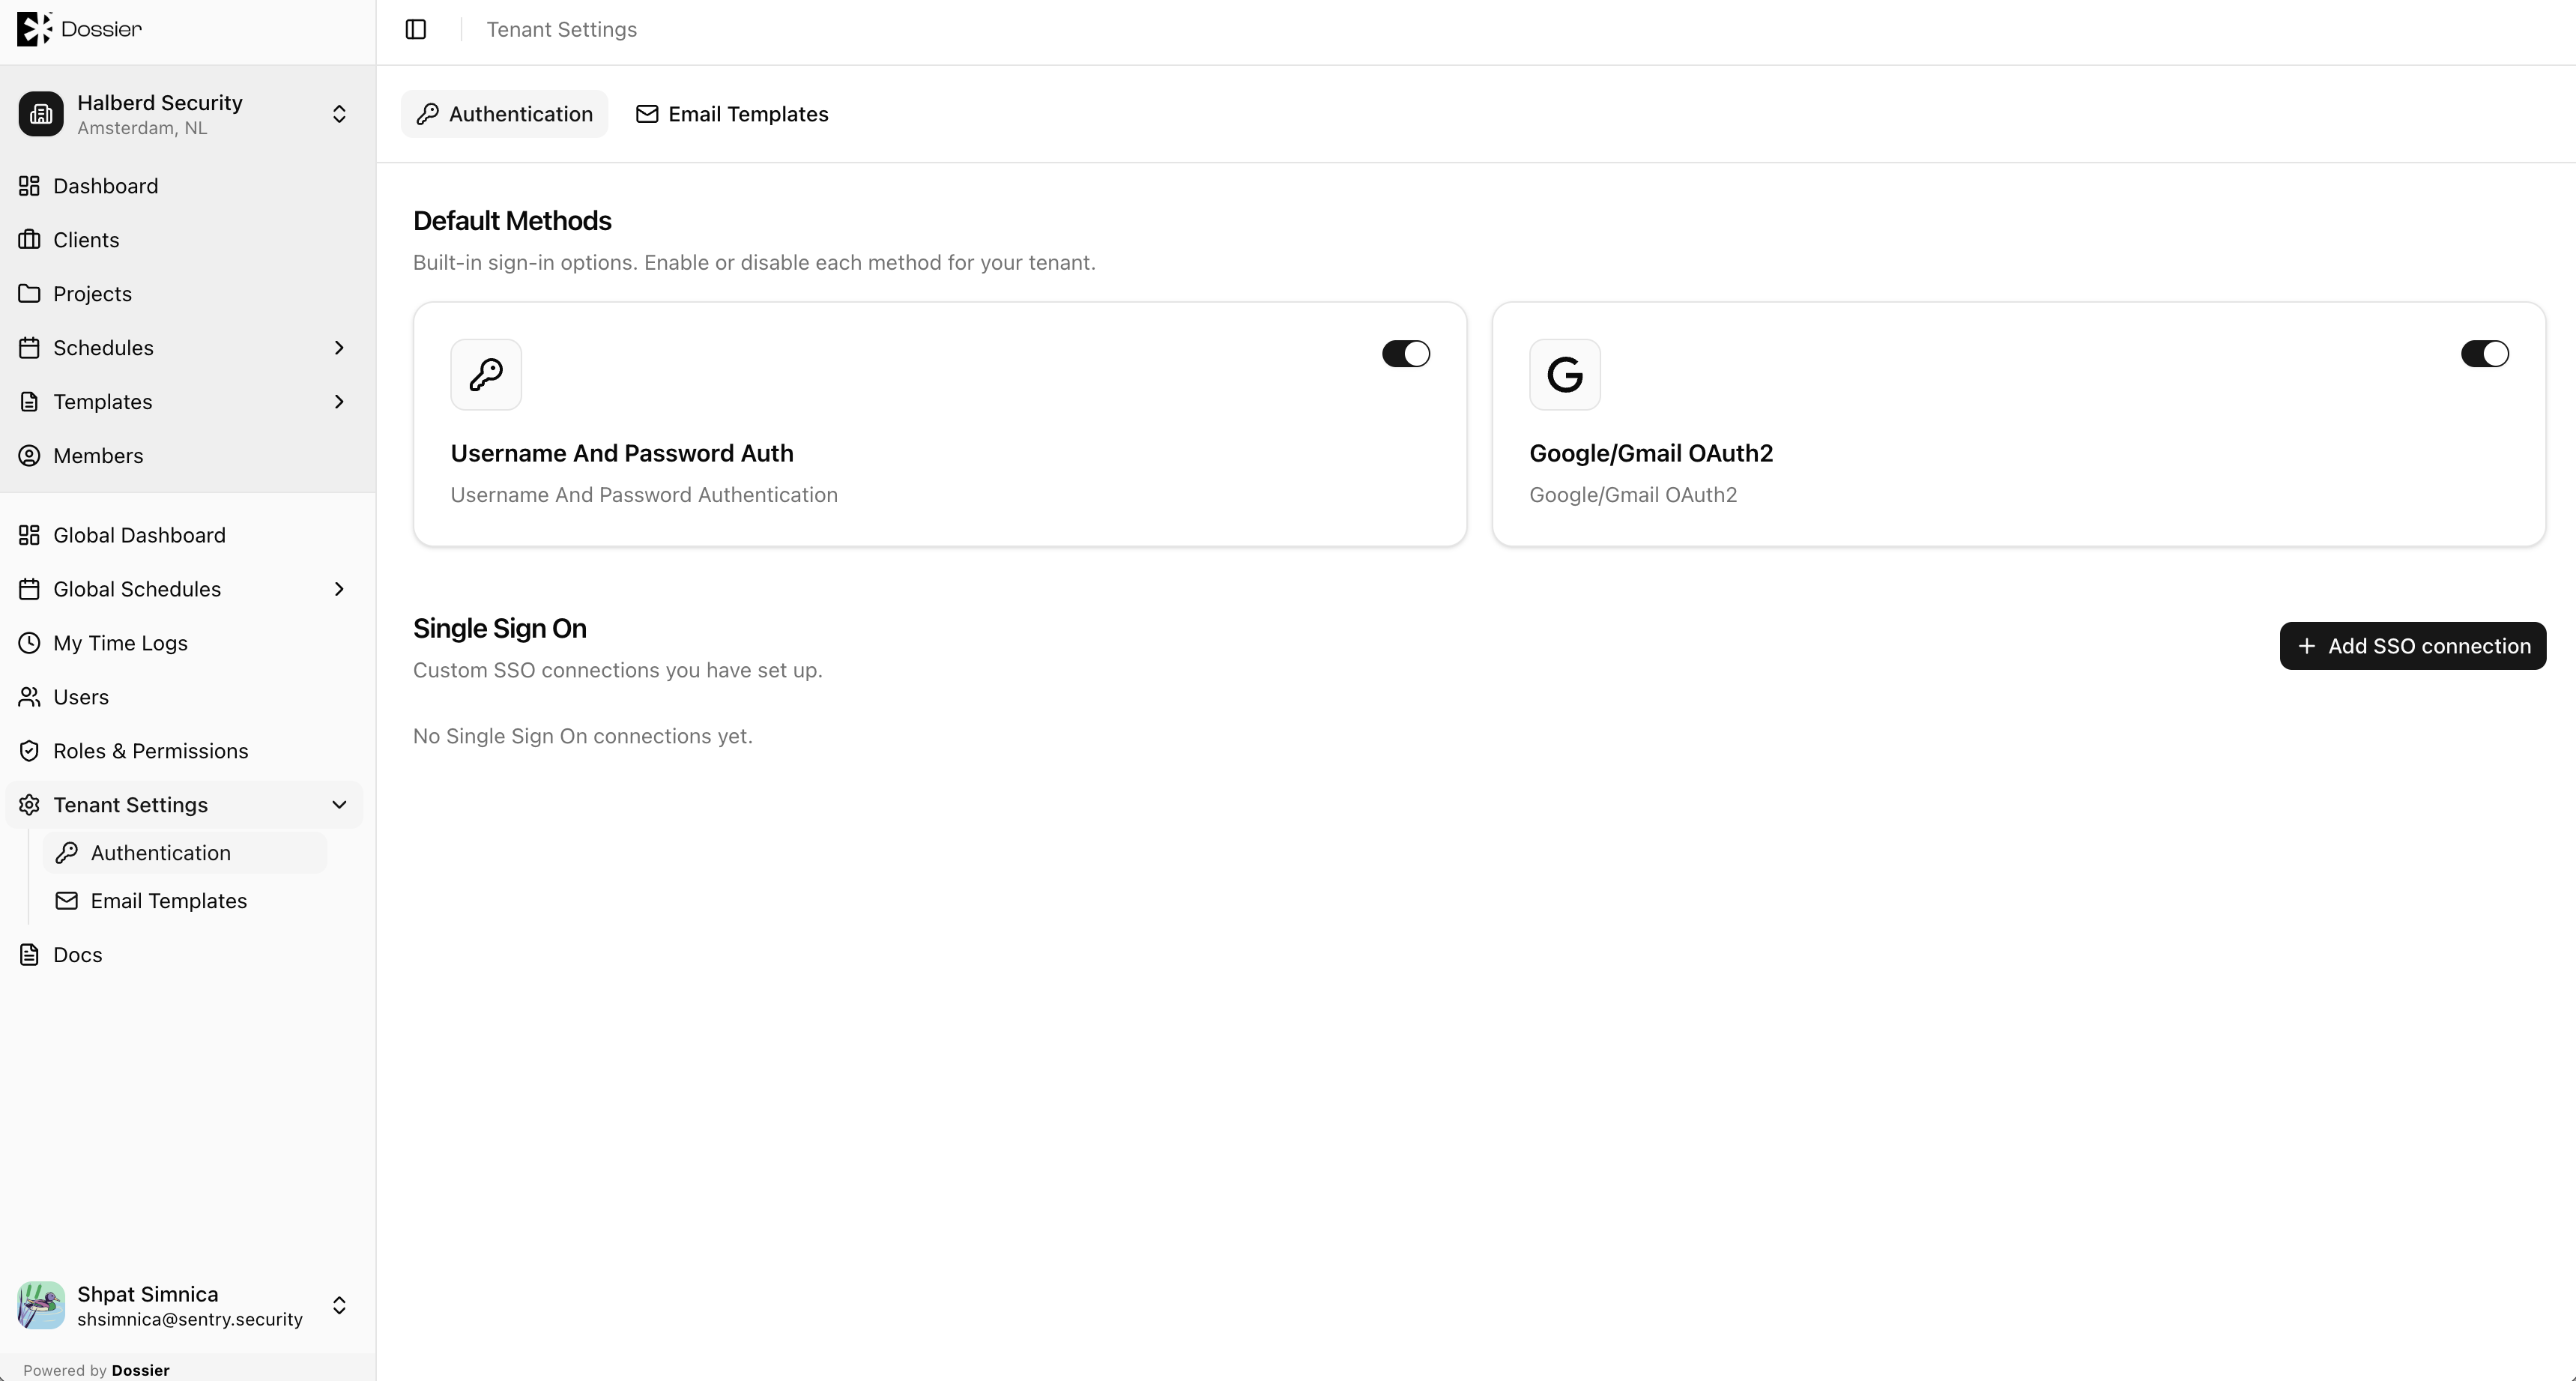
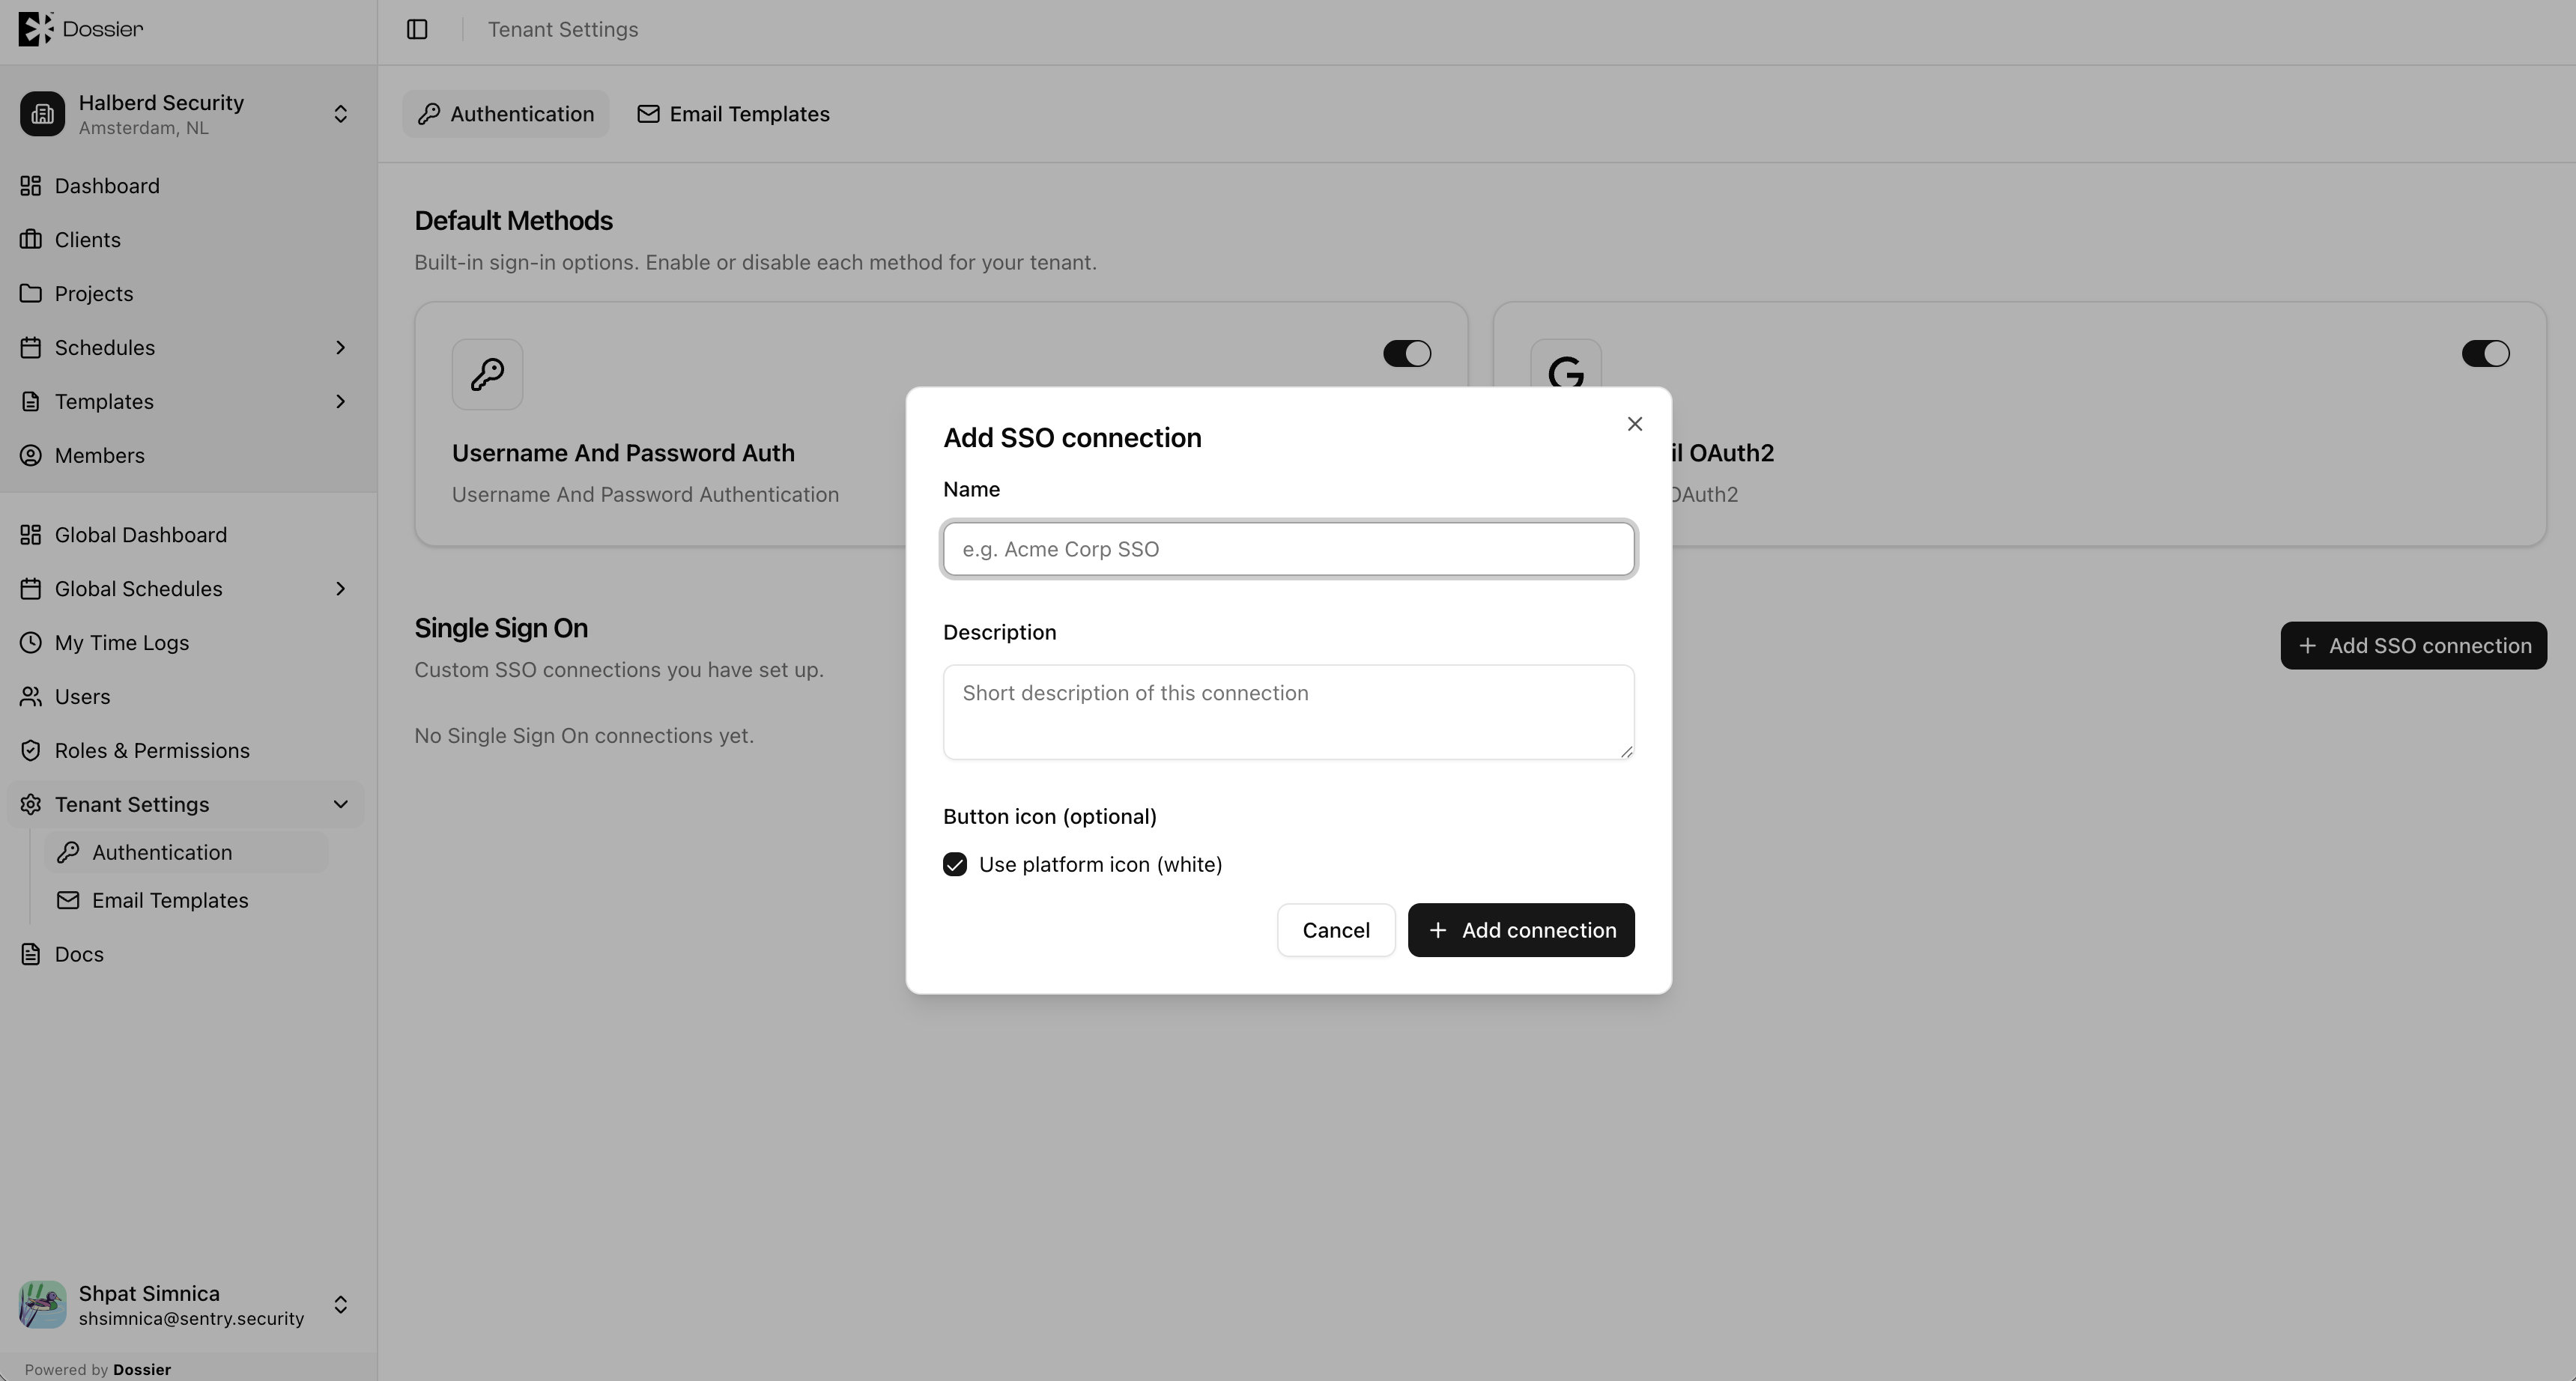
Tenant administrators can configure authentication methods from Tenant Settings → Authentication.
Available connection types
| Connection | Description |
|---|---|
| Default (password) | Email and password login through Auth0. |
| Sign in with a Google account. | |
| Custom SSO | A SAML or OIDC connection configured for your organization. |
Enabling and disabling connections
- Navigate to Tenant Settings → Authentication.
- Toggle a connection on or off.
- At least one connection must remain enabled at all times.
Adding a custom SSO connection
- Click Add SSO on the Authentication page.
- Follow the Auth0 self-service setup flow to configure your identity provider.
- Once created, enable the connection for your tenant.
warning
Only users with Admin permissions can access Tenant Settings. Custom SSO is limited to one connection per tenant.